环境准备
- GCC——GNU编译器集合(GCC可以使用默认包管理器的仓库(repositories)来安装,包管理器的选择依赖于你使用的Linux发布版本,包管理器有不同的实现:yum是基于Red Hat的发布版本;apt用于Debian和Ubuntu;yast用于SuSE Linux等等。)
yum install gcc
- PCRE pcre-devel 安装
PCRE(Perl Compatible Regular Expressions) 是一个Perl库,包括 perl 兼容的正则表达式库。nginx 的 http 模块使用 pcre 来解析正则表达式,所以需要在 linux 上安装 pcre 库,pcre-devel 是使用 pcre 开发的一个二次开发库。nginx也需要此库。命令:
yum install -y pcre pcre-devel
- zlib 安装
zlib 库提供了很多种压缩和解压缩的方式, nginx 使用 zlib 对 http 包的内容进行 gzip ,所以需要在 Centos 上安装 zlib 库。
yum install -y zlib zlib-devel
- OpenSSL 安装
OpenSSL 是一个强大的安全套接字层密码库,囊括主要的密码算法、常用的密钥和证书封装管理功能及 SSL 协议,并提供丰富的应用程序供测试或其它目的使用。
nginx 不仅支持 http 协议,还支持 https(即在ssl协议上传输http),所以需要在 Centos 安装 OpenSSL 库。
yum install -y openssl openssl-devel
下载安装包
1,使用wget命令下载(推荐)
进入到需要安装的目录下:
cd /usr/local/

wget -c https://nginx.org/download/nginx-1.15.0.tar.gz

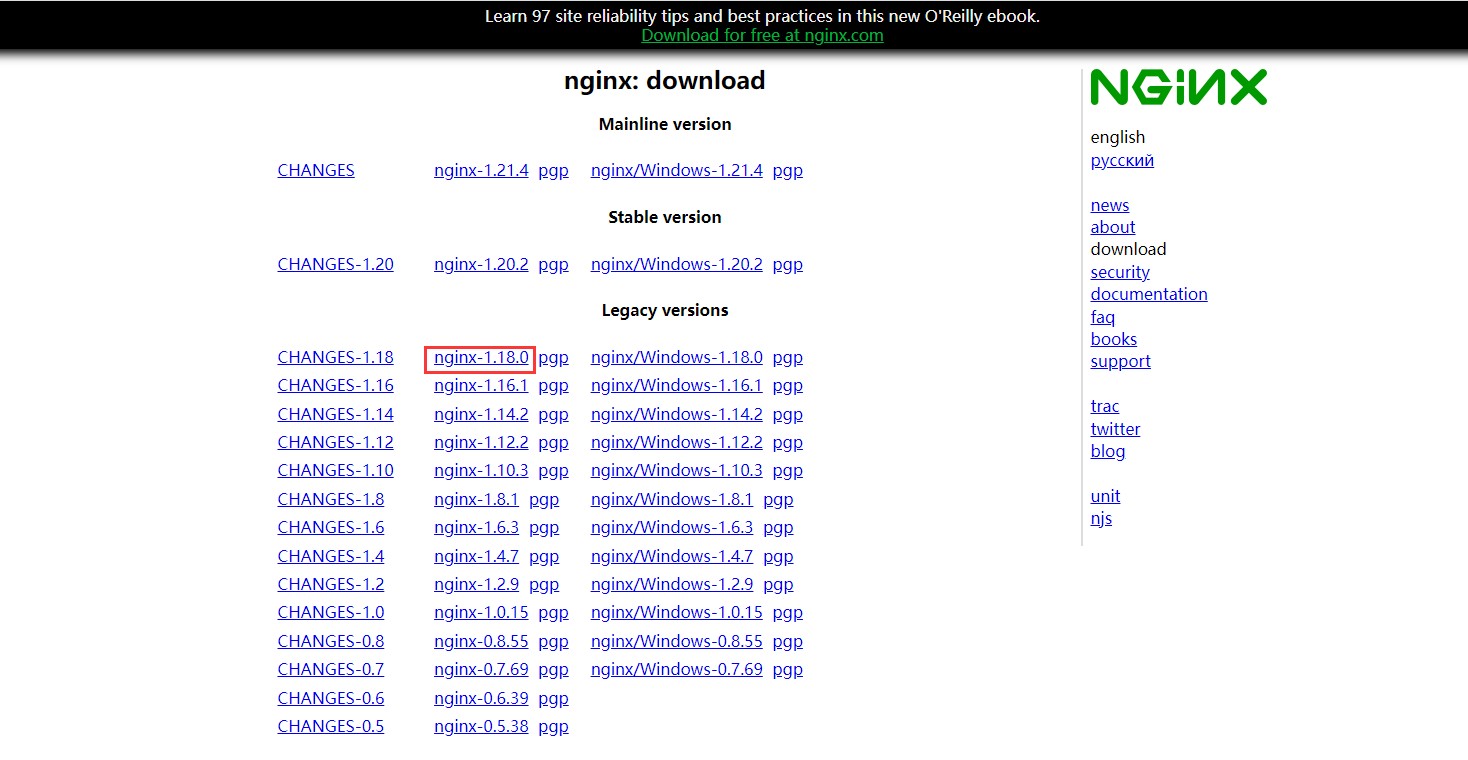
2,官网下载压缩包,再上传到服务器
官网地址:https://nginx.org/en/download.html
解压
tar -zxvf nginx-1.18.0.tar.gz
cd nginx-1.18.0

配置
其实在 nginx-1.15.0 版本中你就不需要去配置相关东西,默认就可以了。当然,如果你要自己配置目录也是可以的。
1.使用默认配置- 编译参数(推荐)
./configure
2.自定义配置(不推荐)
./configure \
--prefix=/usr/local/nginx \
--conf-path=/usr/local/nginx/conf/nginx.conf \
--pid-path=/usr/local/nginx/conf/nginx.pid \
--lock-path=/var/lock/nginx.lock \
--error-log-path=/var/log/nginx/error.log \
--http-log-path=/var/log/nginx/access.log \
--with-http_gzip_static_module \
--http-client-body-temp-path=/var/temp/nginx/client \
--http-proxy-temp-path=/var/temp/nginx/proxy \
--http-fastcgi-temp-path=/var/temp/nginx/fastcgi \
--http-uwsgi-temp-path=/var/temp/nginx/uwsgi \
--http-scgi-temp-path=/var/temp/nginx/scgi
编译安装
make
make install
此时就会在/usr/local/目录下,生成nginx目录,这就是我们所安装之后可以使用的目录。

启动、停止nginx
cd /usr/local/nginx/sbin/
./nginx
./nginx -s stop               此方式相当于先查出nginx进程id再使用kill命令强制杀掉进程。
./nginx -s quit               此方式停止步骤是待nginx进程处理任务完毕进行停止。
./nginx -s reload             不停止,直接重启,在改了配置文件或者项目的是时候适用
ps aux|grep nginx             查看nginx进程
重启 nginx
1.先停止再启动(推荐):
对 nginx 进行重启相当于先停止再启动,即先执行停止命令再执行启动命令。如下:
./nginx -s quit
./nginx
2.重新加载配置文件:
当 ngin x的配置文件 nginx.conf 修改后,要想让配置生效需要重启 nginx,使用-s reload不用先停止 ngin x再启动 nginx 即可将配置信息在 nginx 中生效,如下:
./nginx -s reload
启动成功后,访问对应的IP加端口即可访问到默认的界面:

将Nginx当做服务启动
编写启动文件
vim /etc/systemd/system/nginx.service
[Unit]
Description=nginx service
After=network.target

[Service]
Type=forking
ExecStart=/usr/local/nginx/sbin/nginx
ExecReload=/usr/local/nginx/sbin/nginx -s reload
ExecStop=/usr/local/nginx/sbin/nginx -s quit
PrivateTmp=true

[Install]
WantedBy=multi-user.target
配置文件解释
[Unit] 服务的说明
Description 描述服务
After 描述服务类别
[Service] 服务运行参数的设置
Type=forking 是后台运行的形式
ExecStart 为服务的具体运行命令
ExecReload 为重启命令
ExecStop 为停止命令
PrivateTmp=True 表示给服务分配独立的临时空间
注意
[Service]的启动、重启、停止命令全部要求使用绝对路径
[Install]运行级别下服务安装的相关设置,可设置为多用户,即系统运行级别为3
对于nginx的位置可以使用find / -name nginx进行寻找
####使用systemctl控制nginx
启动nginx服务
systemctl start nginx
停止服务
systemctl stop nginx
重新启动服务
systemctl restart nginx
查看所有已启动的服务
systemctl list-units --type=service
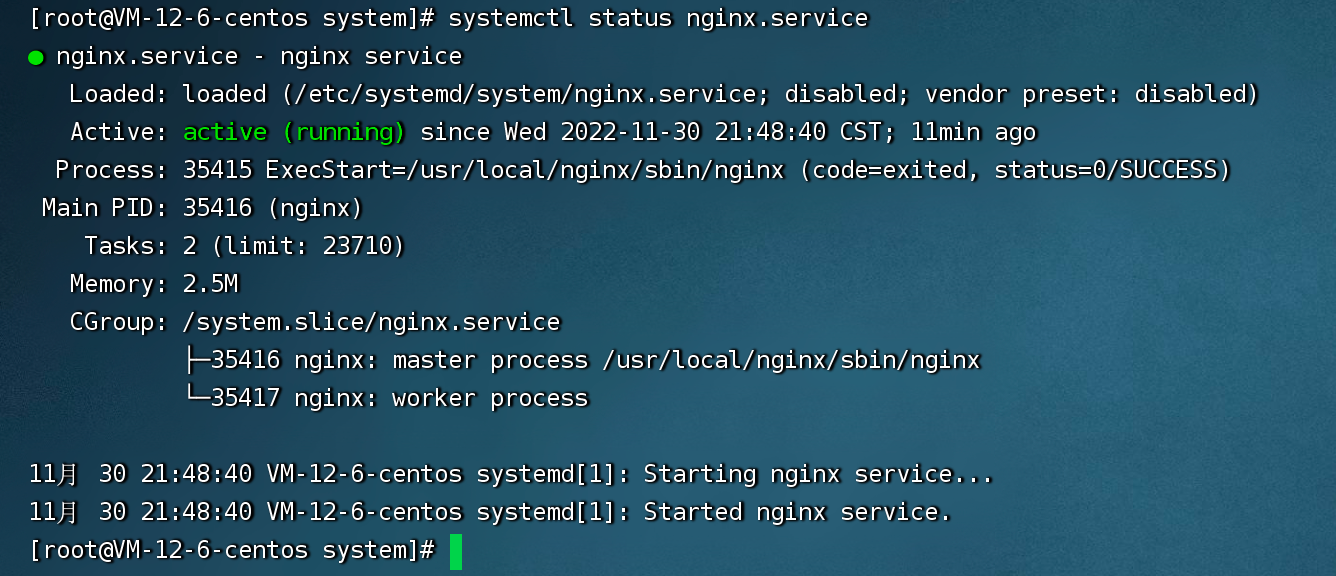
查看服务当前状态
systemctl status nginx
设置开机自启动
systemctl enable nginx
停止开机自启动
systemctl disable nginx